Home concrete is becoming a popular material for DIY projects. Experts suggest that this trend is driven by its versatility and cost-effectiveness. According to a recent report by the National Concrete Association, the home concrete market is projected to grow by 8% annually through 2026. This growth reflects the increasing interest in home improvement and personalized outdoor spaces.
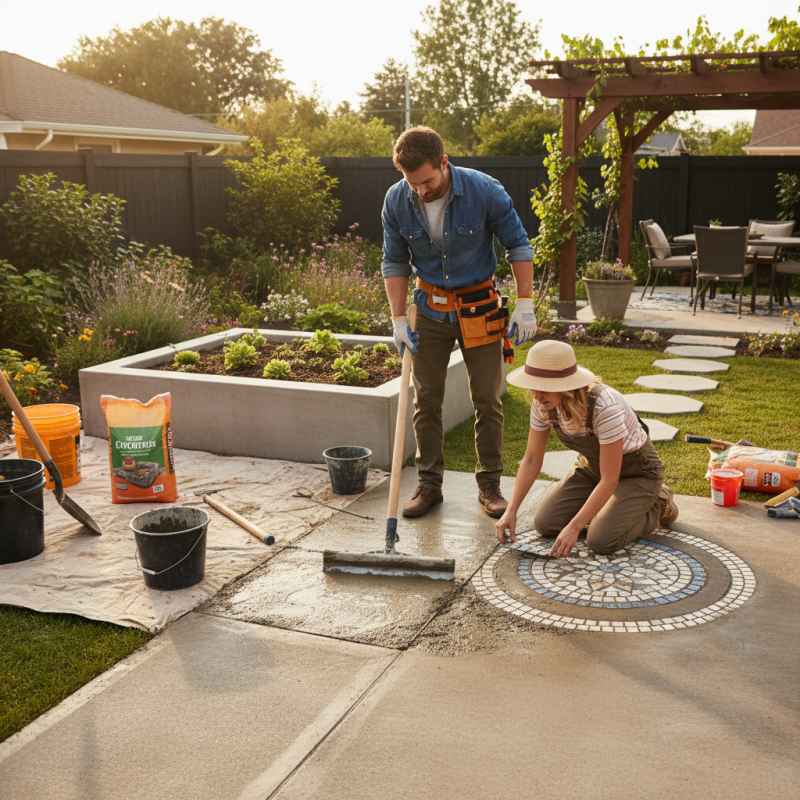
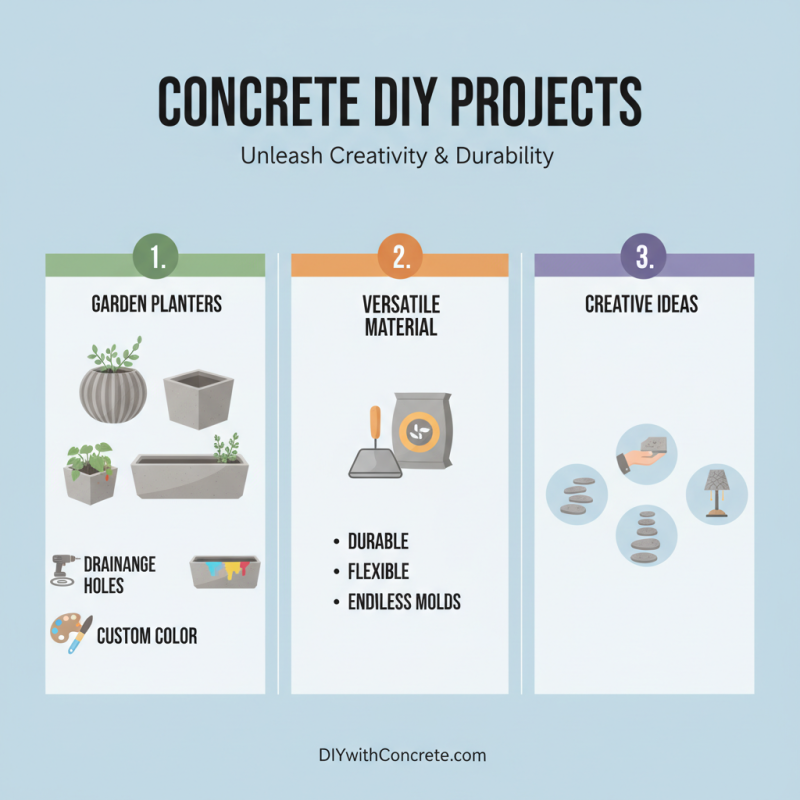
John Smith, a renowned expert in the concrete industry, states, “Home concrete empowers homeowners to unleash their creativity.” This sentiment resonates with many DIY enthusiasts looking to transform their living spaces. Home concrete can be used for pathways, patios, and even decorative elements.
However, challenges can arise when working with this material. Improper mixing or layering can lead to unsatisfactory results. There’s also a learning curve when it comes to achieving the right consistency and finish. Embracing these imperfections is part of the DIY journey. It’s crucial for creators to reflect on their methods and continually improve for better outcomes. With careful planning and practice, using home concrete can lead to impressive results.
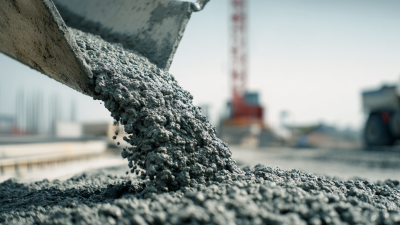
Choosing the right type of concrete is crucial for any DIY project. Not all concrete is created equal. There are various types available, each designed for different applications. For instance, you might consider ready-mix concrete for a quick fix around the yard. It’s easy to use and requires minimal preparation.
For a more artistic touch, decorative concrete is ideal. This variety comes in many colors. It allows for patterns and textures that can elevate a simple garden path. However, working with this type can be tricky. You might need special tools, and it demands certain techniques to achieve the desired look.
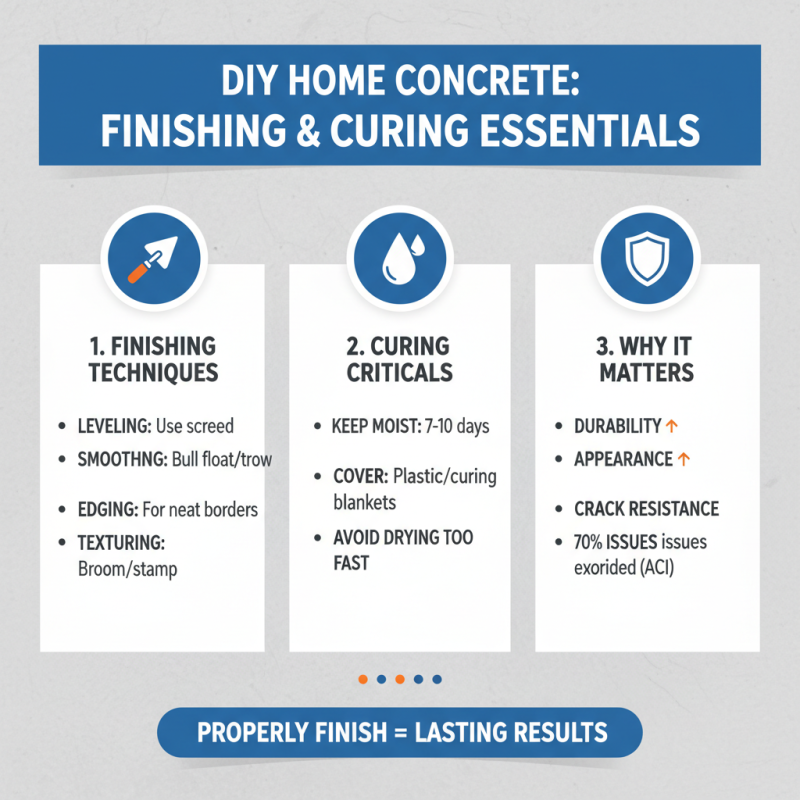
Don’t overlook the importance of weather impacts. Cold or rainy days can affect the curing process. If conditions are not right, the end result may not be what you envisioned. It’s wise to check the forecast before starting your project. Miscalculations can lead to cracks or uneven surfaces. Embrace the learning journey, even if it comes with some imperfections. Each experience will enhance your skills for future projects.
| Concrete Type | Best Uses | Strength (MPa) | Setting Time | Recommended Projects |
|---|---|---|---|---|
| Standard Concrete | Patios, driveways | 20-25 MPa | 28 days | Walkways, foundations |
| High-Strength Concrete | Structures requiring high load | 30+ MPa | 28 days | High-rise buildings, bridges |
| Fiber-Reinforced Concrete | Areas prone to cracking | 20-25 MPa | 28 days | Driveways, industrial floors |
| Self-Leveling Concrete | Leveling floors | 25 MPa | 24 hours | Indoor floors, underlayment |
| Decorative Concrete | Aesthetics and finish | 20-25 MPa | 28 days | Walkways, patios, countertops |
To successfully tackle a home concrete project, gathering the right tools and materials is crucial. Start with the essentials: a mixing container, a trowel, and safety gear.
Safety goggles and gloves protect you while handling concrete. You’ll need a concrete mix, water, and tools for leveling and finishing.
Tips: Always wear protective gear. It may feel cumbersome, but it’s necessary. Prepare your workspace. Clear any debris and ensure a flat surface for the best results.
Consider molds if you want specific shapes. They can be made from wood, plastic, or metal. Don’t overlook the importance of a concrete mixer. It saves time and effort. If you mix by hand, ensure you achieve the right consistency. Too dry or too wet can ruin the project.
Keep in mind, mistakes happen even to the best DIYers. Don’t be afraid to adjust your techniques as you go. You might discover a better way to pour or finish your concrete. Remember, the learning process is part of the journey. Embrace it!
Mixing and pouring concrete for DIY projects can be rewarding yet challenging. Start by gathering your materials: cement, sand, gravel, and water. Ensure you have a wheelbarrow or bucket for mixing. Don't worry if your first batch isn't perfect. Mixing ratios can take time to master. Aim for a consistency that is neither too dry nor overly wet.
When you're ready to mix, add the dry ingredients first. Create a well in the center and gradually add water. This helps avoid clumps. Use a shovel to combine everything evenly. It's okay if it gets messy—learning is part of the process. Pour the mixed concrete into your form promptly. Use a trowel to spread it evenly, making sure there are no air bubbles. Take a moment to assess your work as you go. Adjustments might be necessary for a better finish.
After pouring, smooth the surface with a float for a professional look. This step can be tricky, and practice makes perfect. Remember to check the curing process. Mistakes happen, but that's how you learn. Planning and experience play a significant role in your concrete projects. Embrace the uncertainty and enjoy the hands-on approach!
When working with home concrete for DIY projects, finishing and curing surfaces properly is essential. A well-finished surface enhances the appearance and durability of your project. According to the American Concrete Institute, over 70% of concrete issues arise from improper finishing. Understanding techniques can help you avoid common pitfalls.
One effective technique is wet curing. This method keeps the surface moist for an extended period, allowing proper hydration. Studies show that surfaces cured in this manner can increase strength by up to 30%. Always cover the concrete with wet burlap or plastic sheets. This prevents moisture loss.
Tips: Use a light mist of water if you’re in a dry climate. Monitor the concrete for any surface cracks; addressing them early can save time later.
Another approach is troweling. The right trowel can help achieve a smoother finish. Smoothing concrete while it’s still setting prevents unsightly lines or texture inconsistencies. Timing is crucial here; waiting too long or not enough can lead to flaws. Aim for consistent pressure when using the trowel.
Tips: For stamped surfaces, use a release agent. It helps prevent sticking and keeps your design crisp. Be aware that rushing can impact the final look. Always take your time for the best results.
Concrete is a versatile material for DIY projects. Its durability and flexibility open the door to many creative ideas. Start by making garden planters. Simple molds can shape them into various designs. Add drainage holes to keep plants healthy. You can even paint them for a splash of color.
Another fun project is creating concrete coasters. Use a silicone mold to form different shapes. The process is quite straightforward, but ensure the mix is consistent. Uneven surfaces can make coasters wobbly. However, imperfections can add character and uniqueness.
For a more ambitious project, try creating a concrete coffee table. You’ll need a sturdy base, like wood or metal. Pour the mix carefully in layers for a smooth finish. Mistakes may happen. Adjusting the height or finish might be challenging, but each flaw is a chance to learn.

