How to Use Cement at Home for DIY Projects?
When considering DIY projects, "cement at home" is an excellent option. Renowned DIY expert, John Mason, once stated, “Cement transforms ordinary spaces into something extraordinary.” This sentiment captures the essence of using cement creatively in home improvement tasks.
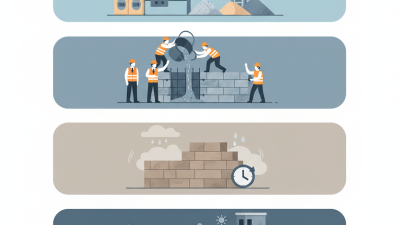
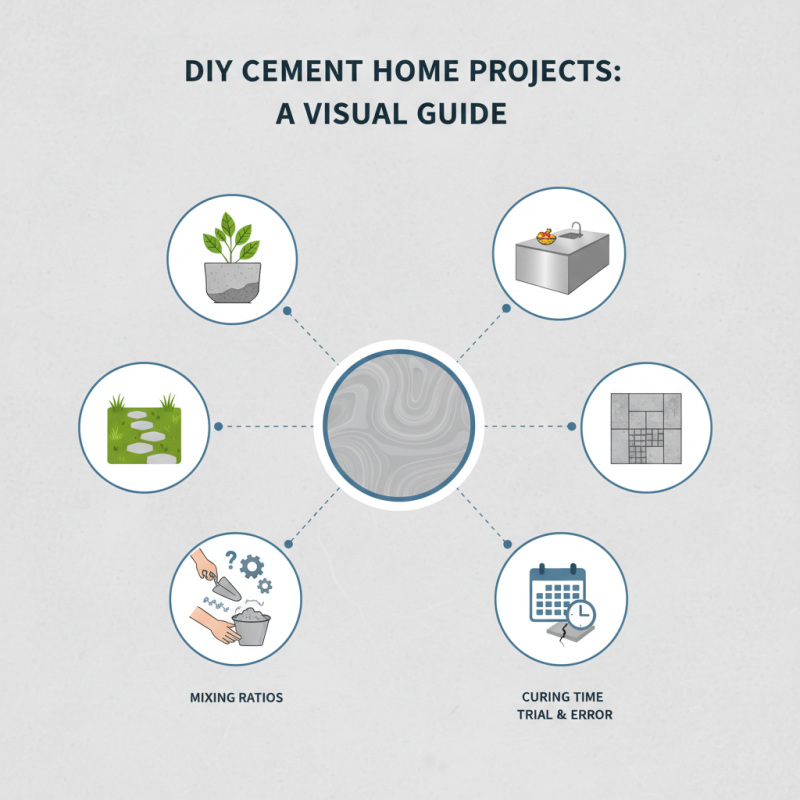
Cement can be your best friend for various projects. From garden planters to durable countertops, possibilities are endless. With some basic tools and a bit of creativity, anyone can achieve impressive results. However, there may be moments of trial and error. Mixing ratios can be tricky, and curing times are often underestimated.
Creating with cement is rewarding but also challenging. Not every project will turn out perfectly. Some might crack or not set properly. Yet each mistake provides a learning opportunity. Embrace these imperfections as part of the journey. Exploring “cement at home” allows for personal expression and practical results. It's about making your space uniquely yours.
Understanding the Basics of Cement: Composition and Properties
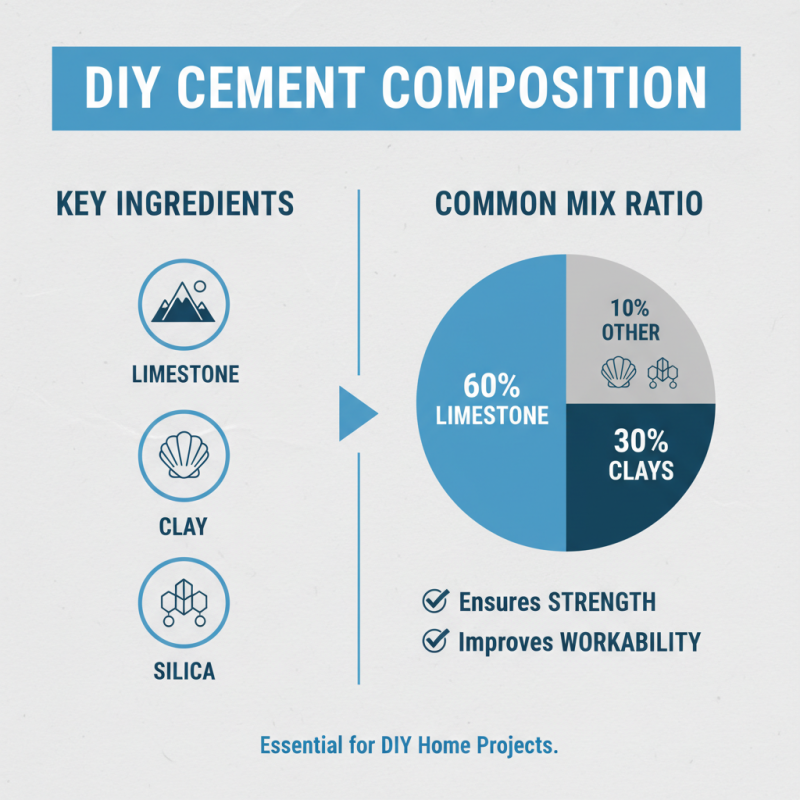
Cement is a vital ingredient for many DIY projects at home. Understanding its composition helps in selecting the right type. Typically, cement is made from limestone, clay, shells, and silica. The proportion of these materials can affect strength and durability. Studies show that a common mix is 60% limestone and 30% clays. This combination ensures strength and workability.
Cement's properties vary considerably based on its ingredients. Commonly, the compressive strength of cement can range from 15 MPa for weaker mixes to over 40 MPa for stronger variants. This means not all cements are suitable for every project. Mixing ratios also influence the curing time. Errors in mixing can lead to poor adhesion.
There's a lot to experiment with. Trying different ratios can yield unexpected results. Sometimes, projects might not turn out as planned due to incorrect calculations. It’s essential to test small batches first. Learning from mistakes is part of the process. Reflecting on trials helps improve future projects.
Choosing the Right Type of Cement for Your DIY Projects
Choosing the right type of cement can significantly impact your DIY projects. For small repairs, basic Portland cement is often suitable. It is versatile and widely available. This type can be used for patching cracks in walls or floors. However, it may require additives for specific uses, such as improving water resistance.
If you're working on outdoor projects, consider using specialized cement. A product designed for outdoor conditions can better withstand weather changes. Look for cement that has antifreeze properties if you live in colder regions. For decorative projects, colored cement might be a fun choice. It can add a personal touch to items like garden planters.
Experimenting with different types may lead to unexpected challenges. Mixing proportions accurately is crucial. Sometimes, the consistency may not be right on the first try. Don't be discouraged if your initial batches aren't perfect. Each attempt teaches something valuable. Remember, adjusting your method based on results will improve your skills over time.
How to Use Cement at Home for DIY Projects?
| Type of Cement |
Best Uses |
Setting Time |
Benefits |
| Portland Cement |
General construction, concrete mix |
30-120 minutes |
Durable, versatile, widely available |
| Masonry Cement |
Brick and block laying |
1-2 hours |
Improves workability, enhances water resistance |
| High-Strength Cement |
Structural applications, heavy loads |
20-60 minutes |
Increased load-bearing capacity |
| Rapid Set Cement |
Quick repairs and projects |
10-30 minutes |
Fast-setting, ideal for urgent repairs |
| White Cement |
Decorative applications, art projects |
60-90 minutes |
Aesthetically pleasing, non-staining |
Essential Tools and Materials for Working with Cement at Home
When working with cement for DIY projects, specific tools and materials are essential. A sturdy mixing bucket is crucial. It helps ensure a proper blend of cement and water. A trowel is another necessary tool. It aids in smoothing the surface and gives your project that professional finish.
You’ll also need protective gear. Gloves prevent skin irritation from cement's caustic nature. A dust mask is important too. Cement dust can be harmful if inhaled. Moreover, consider using a level to ensure your work is straight. It’s frustrating to see a crooked pathway after all your hard work.
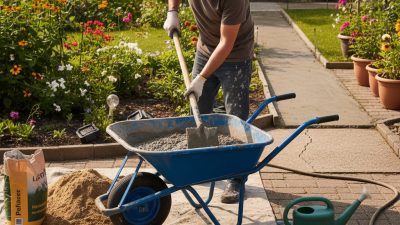
Finally, don’t forget a sturdy wheelbarrow for transporting mixtures. Improvisation is often required; a plastic bag can do in a pinch, though it’s not ideal. Cement projects can be messy and unforgiving. It's easy to make mistakes, so be prepared to learn. Enjoy the process, and remember that practice makes perfect.
DIY Cement Projects: Material Usage Overview
Step-by-Step Guide to Mixing and Pouring Cement
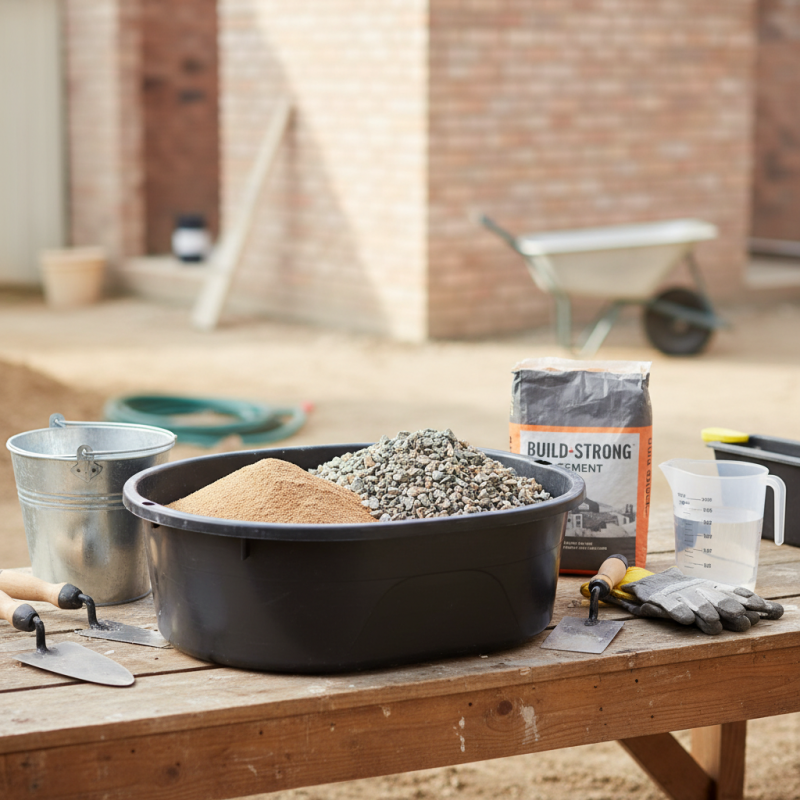
Mixing and pouring cement can seem daunting. However, with a step-by-step approach, anyone can master it. Start by gathering your materials. You’ll need cement, sand, gravel, and water. A bucket or mixing tub helps too.
To mix cement, use a shovel or mixer. Combine one part cement with two parts sand and three parts gravel. Add water gradually. Aim for a consistency like thick peanut butter. Too much water will weaken the mix. Ensure it looks uniform before pouring.
When it comes to pouring, prepare your mold. Use plywood for simple shapes. Pour the mixture evenly and vibrate gently to remove air bubbles. Wait for at least 24 hours before removing the mold.
**Tips**: Consider using gloves to protect your hands. If it’s your first time, do small projects to build confidence. Always work in a well-ventilated area. Mistakes happen; it’s part of learning. Adjust your technique as necessary.
Common DIY Cement Projects: Ideas and Best Practices
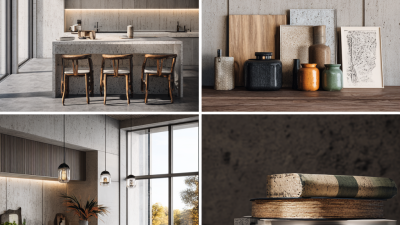
Cement is a versatile material for DIY projects. There are countless ways to use it creatively at home. One popular project is creating planters. Mix cement with water and pour it into molds. You can use anything from plastic bottles to buckets for shapes. Remember, uneven surfaces can happen, and they may add character to your final product.
Another exciting idea is making decorative coasters. Simply pour the cement into round molds and let it set. You can add colors or even tiny decorations, such as stones or shells, before it hardens. Don't worry about getting it perfect—chips or rough edges can lend a rustic look.
Cement can also be used for creating unique furniture like stools or side tables. Use strong support for molds, and ensure everything is level. Often, these projects might require a second attempt to get right. Mistakes can lead to interesting designs and lessons learned. Enjoy the process and let your creativity flow!