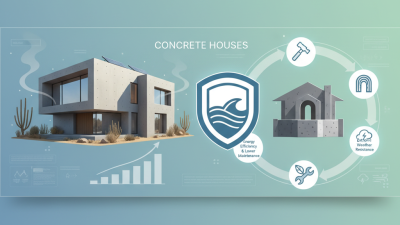
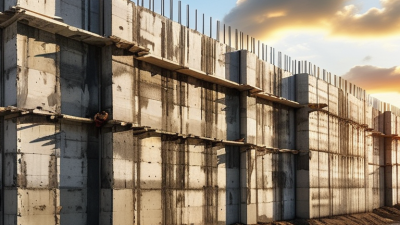
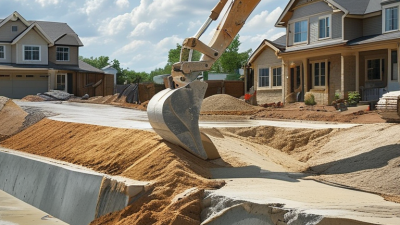
Building a concrete house requires careful planning, skilled labor, and decisions that remain hidden after construction. This guide explains each major stage, from evaluating the site to finishing interior surfaces. It follows a practical sequence used by experienced builders and structural professionals. Soil testing comes before foundation design. Local building regulations also guide setbacks, permits, reinforcement, insulation, and fire safety requirements. Never treat these details as optional.
The process begins with drawings, cost estimates, drainage planning, and a realistic construction schedule. Crews then prepare the ground, install footings, place steel reinforcement, and pour the foundation. Forms must be aligned accurately before walls or slabs receive concrete. Fresh concrete needs proper vibration and controlled curing to reduce cracks and weak sections. Small errors matter.
A reliable concrete house also needs waterproofing, thermal breaks, efficient windows, and carefully sealed roof connections. Concrete can feel solid, but it is not automatically comfortable or maintenance-free. Moisture may enter through poorly detailed joints, while poor insulation can create high energy bills. Experienced contractors inspect each stage instead of trusting appearances. Photographs, delivery records, test results, and inspection approvals create useful evidence of quality.
The sequence sounds straightforward. Reality is less tidy. Weather changes, delayed materials, and uneven ground can disrupt good plans. This guide acknowledges those problems and encourages practical adjustments without hiding their cost. Independent engineering advice is valuable when spans, soil conditions, or unusual designs exceed ordinary experience. With disciplined preparation and honest inspections, a concrete house can become durable, efficient, and safe for generations.
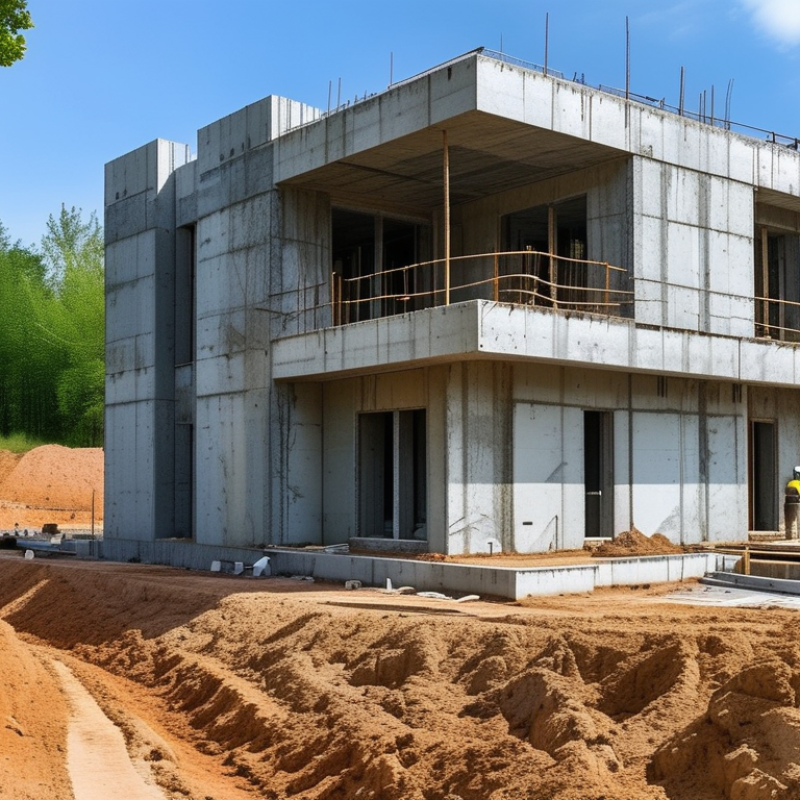
Site planning begins before concrete arrives. Commission a boundary survey, soil investigation, and drainage review. Mark access routes, setbacks, utilities, and equipment space on one drawing. A small error near the foundation can create expensive changes later. The design should show wall thickness, insulation, reinforcement, openings, roof loads, and moisture control. Energy planning matters because the UNEP 2022 Global Status Report identified buildings and construction as responsible for about 37% of global energy-related emissions. Concrete alone is not a complete sustainability strategy.
Permit preparation requires more than attractive floor plans. Submit architectural drawings, structural calculations, foundation details, site grading, energy documents, and service layouts. Check local zoning rules before finalizing room sizes or window positions. The International Code Council’s building standards emphasize structural safety, fire protection, accessibility, and energy performance. Requirements vary by location, so an experienced local professional should review every sheet. A first design may look efficient, yet fail after a drainage review. That is normal. Review it again.
Tips: Keep a permit checklist with revision dates. Photograph the site before excavation. Ask the soil engineer to explain bearing capacity in plain language. Reserve space for rainwater movement, even when the ground appears dry. Leave realistic time for authority comments. Permit delays often reveal missing coordination, not difficult construction.
A concrete house begins with the ground, not the walls. A soil investigation should identify bearing capacity, drainage conditions, and possible settlement risks. Local structural requirements must guide the foundation design. On site, I would mark the building lines carefully, then excavate to firm, undisturbed soil. Loose soil can create expensive problems later.
The foundation area needs clean, compacted subgrade and a stable layer of gravel. Reinforcement must match the engineer’s drawings, with correct spacing and concrete cover. Keep steel away from the soil. Install formwork firmly, checking dimensions before the pour. Concrete should be placed continuously where possible, then compacted to remove trapped air. Protect the surface while it cures. Do not rush this stage.
Building services must be planned before the slab is sealed. Plumbing sleeves, drainage pipes, electrical conduits, and grounding routes should be installed and photographed for records. Every penetration needs proper positioning and sealing. A misplaced drain can force awkward changes later. Test water lines and inspect conduits before pouring concrete. Small mistakes become hidden.
I have seen teams focus on speed and overlook pipe supports. That decision can cause movement beneath the slab. The inspection stage may feel slow, but it protects the structure. Still, drawings can miss field conditions, so adjustments should be documented and approved by qualified professionals. Fresh concrete hides everything.
Concrete walls become reliable when the structural frame is planned before the first pour. A qualified structural engineer should size footings, reinforcement, columns, beams, and slabs for the site conditions. Soil reports matter. Ignore them, and the wall may settle unevenly.
Workers mark wall lines on cured footings, then install vertical rebar and horizontal reinforcement. Bars need correct spacing, overlap, and concrete cover. Openings for doors, windows, and services require reinforced edges. Forms must be tight, clean, and accurately aligned. Even a small gap can leak cement paste and weaken the surface.
Concrete is placed in controlled lifts, not dumped carelessly. Internal vibration removes hidden air pockets, but over-vibration can separate the mix. Check plumb, level, and dimensions during the pour. Do not wait until the forms come down.
The frame develops as walls connect with columns, beams, and floor slabs. Temporary bracing keeps fresh walls stable. After placement, protect the concrete from rapid drying, rain, and sharp temperature changes. Proper curing takes patience. Rushing it is a common mistake.
Tips: Keep a pour checklist beside the site supervisor. Record batch times, weather, test results, and any repair work. Use a laser level for repeated checks. Walk around every form before pouring. That simple habit catches loose ties and misplaced sleeves. I would also leave room for review; construction drawings can contain assumptions that do not match field conditions. Stop and request professional clarification when measurements conflict.
After the concrete walls cure, install the roof structure only after checking alignment and moisture levels. A level wall plate helps distribute weight evenly. Anchor the roof securely to embedded connectors, then add sheathing, insulation, and weatherproof covering. Pay close attention to flashing around edges and roof openings. Small gaps can invite wind-driven rain. I once underestimated a roof penetration, and the first storm revealed a damp interior corner. That mistake taught me to inspect every joint from both sides.
Set door and window frames into prepared openings, checking plumb, level, and diagonal measurements. Use suitable anchors for concrete, then seal the perimeter with backer material and flexible sealant. Leave enough tolerance for movement and thermal expansion. Heavy doors may need stronger fixing points than expected. Windows should open smoothly before interior finishes hide the frames. A professional inspection can catch weak lintels or poor drainage before they become expensive repairs.
Tips: Plan utility routes before closing walls or ceilings. Keep electrical, plumbing, and ventilation paths separate where required by local codes. Pressure-test water lines and inspect drain slopes before covering them. Use conduit in exposed areas, and label every cable and pipe clearly. Licensed professionals should verify electrical connections and gas-related work. Take photos of concealed services; future repairs become much easier. My own planning was not perfect, especially around the service panel, so leave more working space than you think necessary.
The chart shows typical working-day allowances for installing the roof, doors, windows, and main utility systems in a small concrete house. Actual durations depend on house size, crew availability, weather, inspections, and local regulations.
After the concrete structure has cured, interior finishing begins with careful moisture control. Test walls and floors before installing plaster, paint, tile, or wood products. A slightly damp surface can cause peeling, staining, or hidden mold later. Repair honeycombs and small cracks with suitable materials recommended by a qualified professional. Keep electrical and plumbing access points visible until their tests are complete. Small details matter.
Exterior surfaces need equal attention. Clean loose dust from concrete walls before applying render or protective coatings. Shape window sills to direct rainwater away from the house. Seal joints around openings, but do not hide movement cracks without finding their cause. The ground should slope away from the foundation. During one inspection, a blocked drainage path may look harmless, yet heavy rain can expose the mistake quickly. That is worth remembering.
Tips: Use bright side lighting to reveal uneven plaster and pinholes. Check door swings, window locks, floor levels, and stair dimensions. Photograph concealed pipes and cables before closing the surfaces. Ask the local building inspector to verify structural, fire-safety, electrical, and plumbing requirements. Keep a written defect list, including the date and responsible trade. Do not rush the final coat. Concrete work often looks finished before it is truly ready.
Typical finishing sequence, material requirements, quality checks, and inspection points for a cast-in-place concrete house
| Step | Area or Surface | Main Work | Typical Materials and Tools | Recommended Timing or Condition | Key Quality Requirements | Inspection Result |
|---|---|---|---|---|---|---|
| 1. Surface Preparation | Interior and exterior concrete | Remove dust, laitance, loose particles, oil, form-release residue, and curing compounds that may prevent adhesion. | Stiff brush, vacuum, scraper, clean water, compatible cleaning solution, moisture meter. | Begin after the concrete has achieved sufficient strength and the surface is stable, clean, and free from standing water. | Cracks, honeycombing, and exposed reinforcement are identified before plastering, coating, or cladding begins. | Pass when the surface is sound, clean, and ready for repair or finishing. |
| 2. Concrete Repairs | Walls, columns, beams, and slabs | Repair honeycombs, tie-rod holes, voids, spalled areas, and visible cracks using compatible repair materials. | Cementitious repair mortar, bonding agent where specified, trowel, grinder, crack gauge. | Complete before waterproofing, plastering, painting, or installing finishes. | Repair material is properly compacted and finished flush with the surrounding concrete; structural cracks receive professional assessment. | Pass when repaired areas are firm, well bonded, and free from loose edges. |
| 3. Moisture and Waterproofing Control | Basement, bathrooms, balconies, and exterior walls | Install waterproofing membranes, liquid-applied systems, damp-proof layers, or drainage protection as required by the design. | Waterproofing membrane, primer, sealant, protection board, drainage layer, roller, and detailing tools. | Apply only to surfaces within the moisture and temperature limits specified for the selected system. | Joints, corners, penetrations, and construction joints are sealed continuously without gaps or punctures. | Pass after visual inspection and any required flood, spray, or water-tightness test. |
| 4. Interior Plaster or Skim Coat | Interior walls and ceilings | Apply a leveling coat or skim coat to create a uniform surface for paint, tile, or other finishes. | Cement plaster, gypsum-based finish where suitable, corner beads, straightedge, trowel, mixing equipment. | Apply after embedded services are complete and substrates are stable and sufficiently dry. | Surface is flat, firmly bonded, free of hollow areas, and prepared with compatible primers before decoration. | Pass when no significant cracking, debonding, ridges, or visible unevenness is present under normal lighting. |
| 5. Interior Floor Construction | Ground floors and upper-floor slabs | Install screed or leveling compound, form falls in wet areas, and prepare the base for tile, wood, resilient flooring, or polished concrete. | Cement-sand screed, leveling compound, laser level, straightedge, power float, moisture meter. | Complete after major wet trades and before final floor coverings are installed. | Floor levels, slopes, movement joints, and substrate moisture meet the requirements of the selected floor finish. | Pass when the floor is level or correctly sloped, stable, and free of loose or hollow sections. |
| 6. Tile and Wet-Area Finishes | Bathrooms, kitchens, utility rooms, and balconies | Install tiles, grout joints, movement joints, sanitary-area sealant, and trim profiles. | Tiles, cementitious or resin grout, tile adhesive, spacers, notched trowel, wet saw, sealant. | Begin after waterproofing approval and when the substrate is sufficiently cured and dry. | Tiles are aligned, securely bonded, evenly spaced, and installed with falls toward floor drains where required. | Pass when there are no loose tiles, open joints, lippage hazards, or unsealed changes of plane. |
| 7. Exterior Render or Cladding | External concrete walls and elevations | Apply exterior render, insulation render system, ventilated cladding, brick slips, or another specified façade finish. | Exterior render, mesh reinforcement, flashing, anchors, cladding panels, level, plumb line, scaffolding. | Install in suitable weather; protect fresh work from rain, frost, excessive heat, and rapid drying. | Flashings, drips, control joints, window reveals, and wall penetrations direct water away from the building. | Pass when the façade is securely attached, visually uniform, and free from open joints or water-entry paths. |
| 8. Windows, Doors, and Sealants | Openings and external interfaces | Install frames, sills, thresholds, weather seals, backer rods, and perimeter sealants. | Frames, flashing tape, sill pans, backer rod, compatible sealant, shims, level, torque tools. | Complete before final interior trim and after surrounding surfaces are sufficiently prepared. | Frames are plumb, level, square, securely fixed, and sealed continuously at all interfaces. | Pass after operation checks and a controlled water-spray inspection where required. |
| 9. Painting and Final Surface Coatings | Interior walls, ceilings, and exterior surfaces | Apply primer and finish coats suitable for the substrate and environmental exposure. | Concrete primer, masonry paint, interior coating, rollers, brushes, masking materials, wet-film gauge. | Apply to clean, dry surfaces within the coating manufacturer’s temperature and humidity limits. | Coating is uniform in color and sheen, with complete coverage and no peeling, blistering, runs, or visible contamination. | Pass after inspection in daylight and with normal room lighting from typical viewing positions. |
| 10. MEP and Fixture Installation | Electrical, plumbing, HVAC, and sanitary systems | Install outlets, switches, lights, plumbing fixtures, ventilation grilles, equipment connections, and access panels. | Approved fittings, testing instruments, shutoff valves, electrical testers, pressure gauges, access covers. | Complete after finished surfaces are sufficiently protected and before final handover cleaning. | Services are accessible, correctly supported, safely connected, and coordinated with the architectural finishes. | Pass after electrical, plumbing, drainage, ventilation, and equipment function tests. |
| 11. Exterior Drainage and Ground Levels | Perimeter, entrances, and hardscape | Complete paving, steps, drainage channels, downpipe connections, splash control, and final grading around the house. | Pavers or concrete, drainage grates, channels, compacted granular fill, level, laser level, compaction equipment. | Complete after major façade work and before final landscaping or occupancy. | Finished ground levels slope away from the building where required and do not block damp-proofing, vents, or drainage outlets. | Pass when surface water is directed to approved drainage points without ponding against the walls. |
| 12. Final Inspection and Handover | Entire house | Conduct a room-by-room inspection, record defects, complete corrective work, clean the building, and assemble closeout documents. | Inspection checklist, level, flashlight, moisture meter, camera, test certificates, maintenance records. | Perform after all finishes, fixtures, and building services are installed and tested. | Verify life-safety systems, waterproofing evidence, service operation, finish quality, access, ventilation, and drainage. | Pass when documented defects are closed and required approvals, warranties, and test records are available. |
Note: The sequence and acceptance criteria are typical construction guidance. Exact curing periods, tolerances, moisture limits, testing procedures, and inspection requirements must follow the approved project specifications and applicable local building codes.